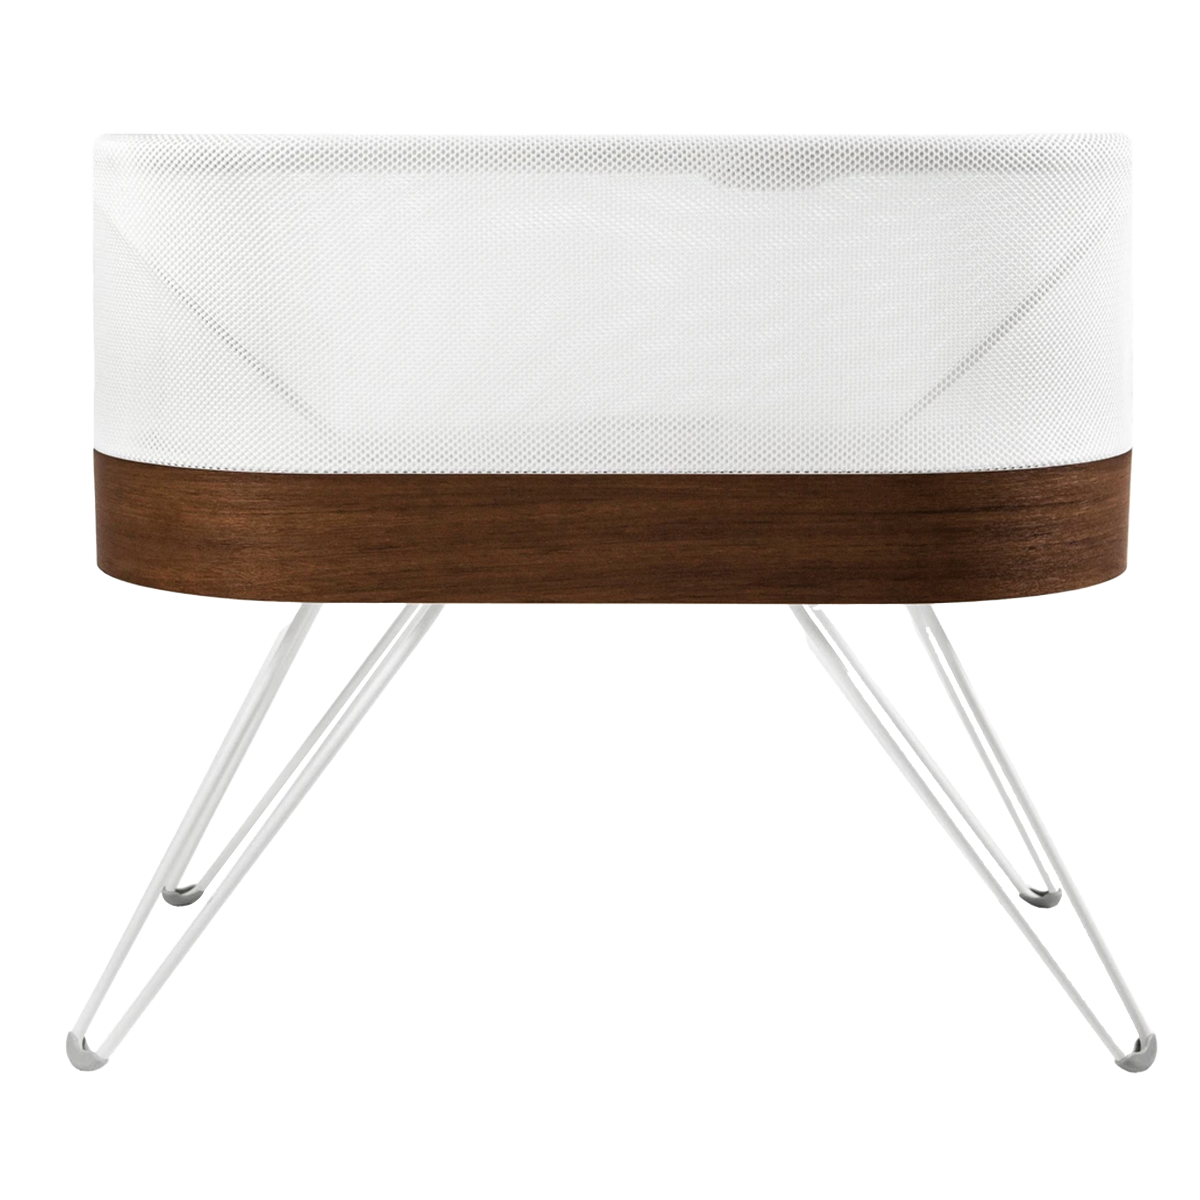
SNOO
How to Repack SNOO
See the easy step-by-step instructions and a video tutorial on how to break down SNOO and repack it in the original box.

Written by
Happiest Baby Staff
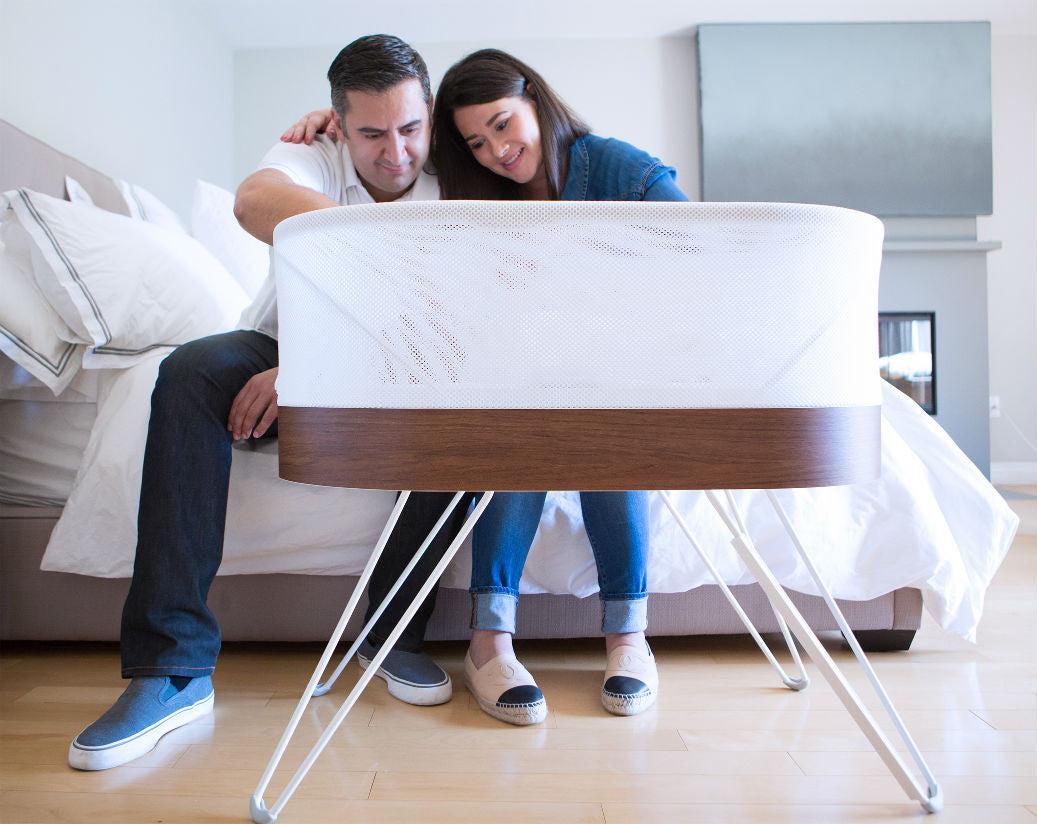
Thanks for allowing Happiest Baby to be a part of your family. Whether you're storing SNOO for your next baby or repacking it to ship back, here's your step-by-step guide on how to disassemble SNOO and repack it in the original box.
If you are returning a rental, carefully pack SNOO in the original packaging and box following the helpful video below (do not include the SNOO Sacks, sheet, mattress, and printed materials—they're yours to keep).
Note: It is important to keep your SNOO packaging when renting your SNOO, so you can ship it back! Missing your original box or have damaged pieces? Order a new one here.
How to Repack SNOO Step-by-Step Instructions
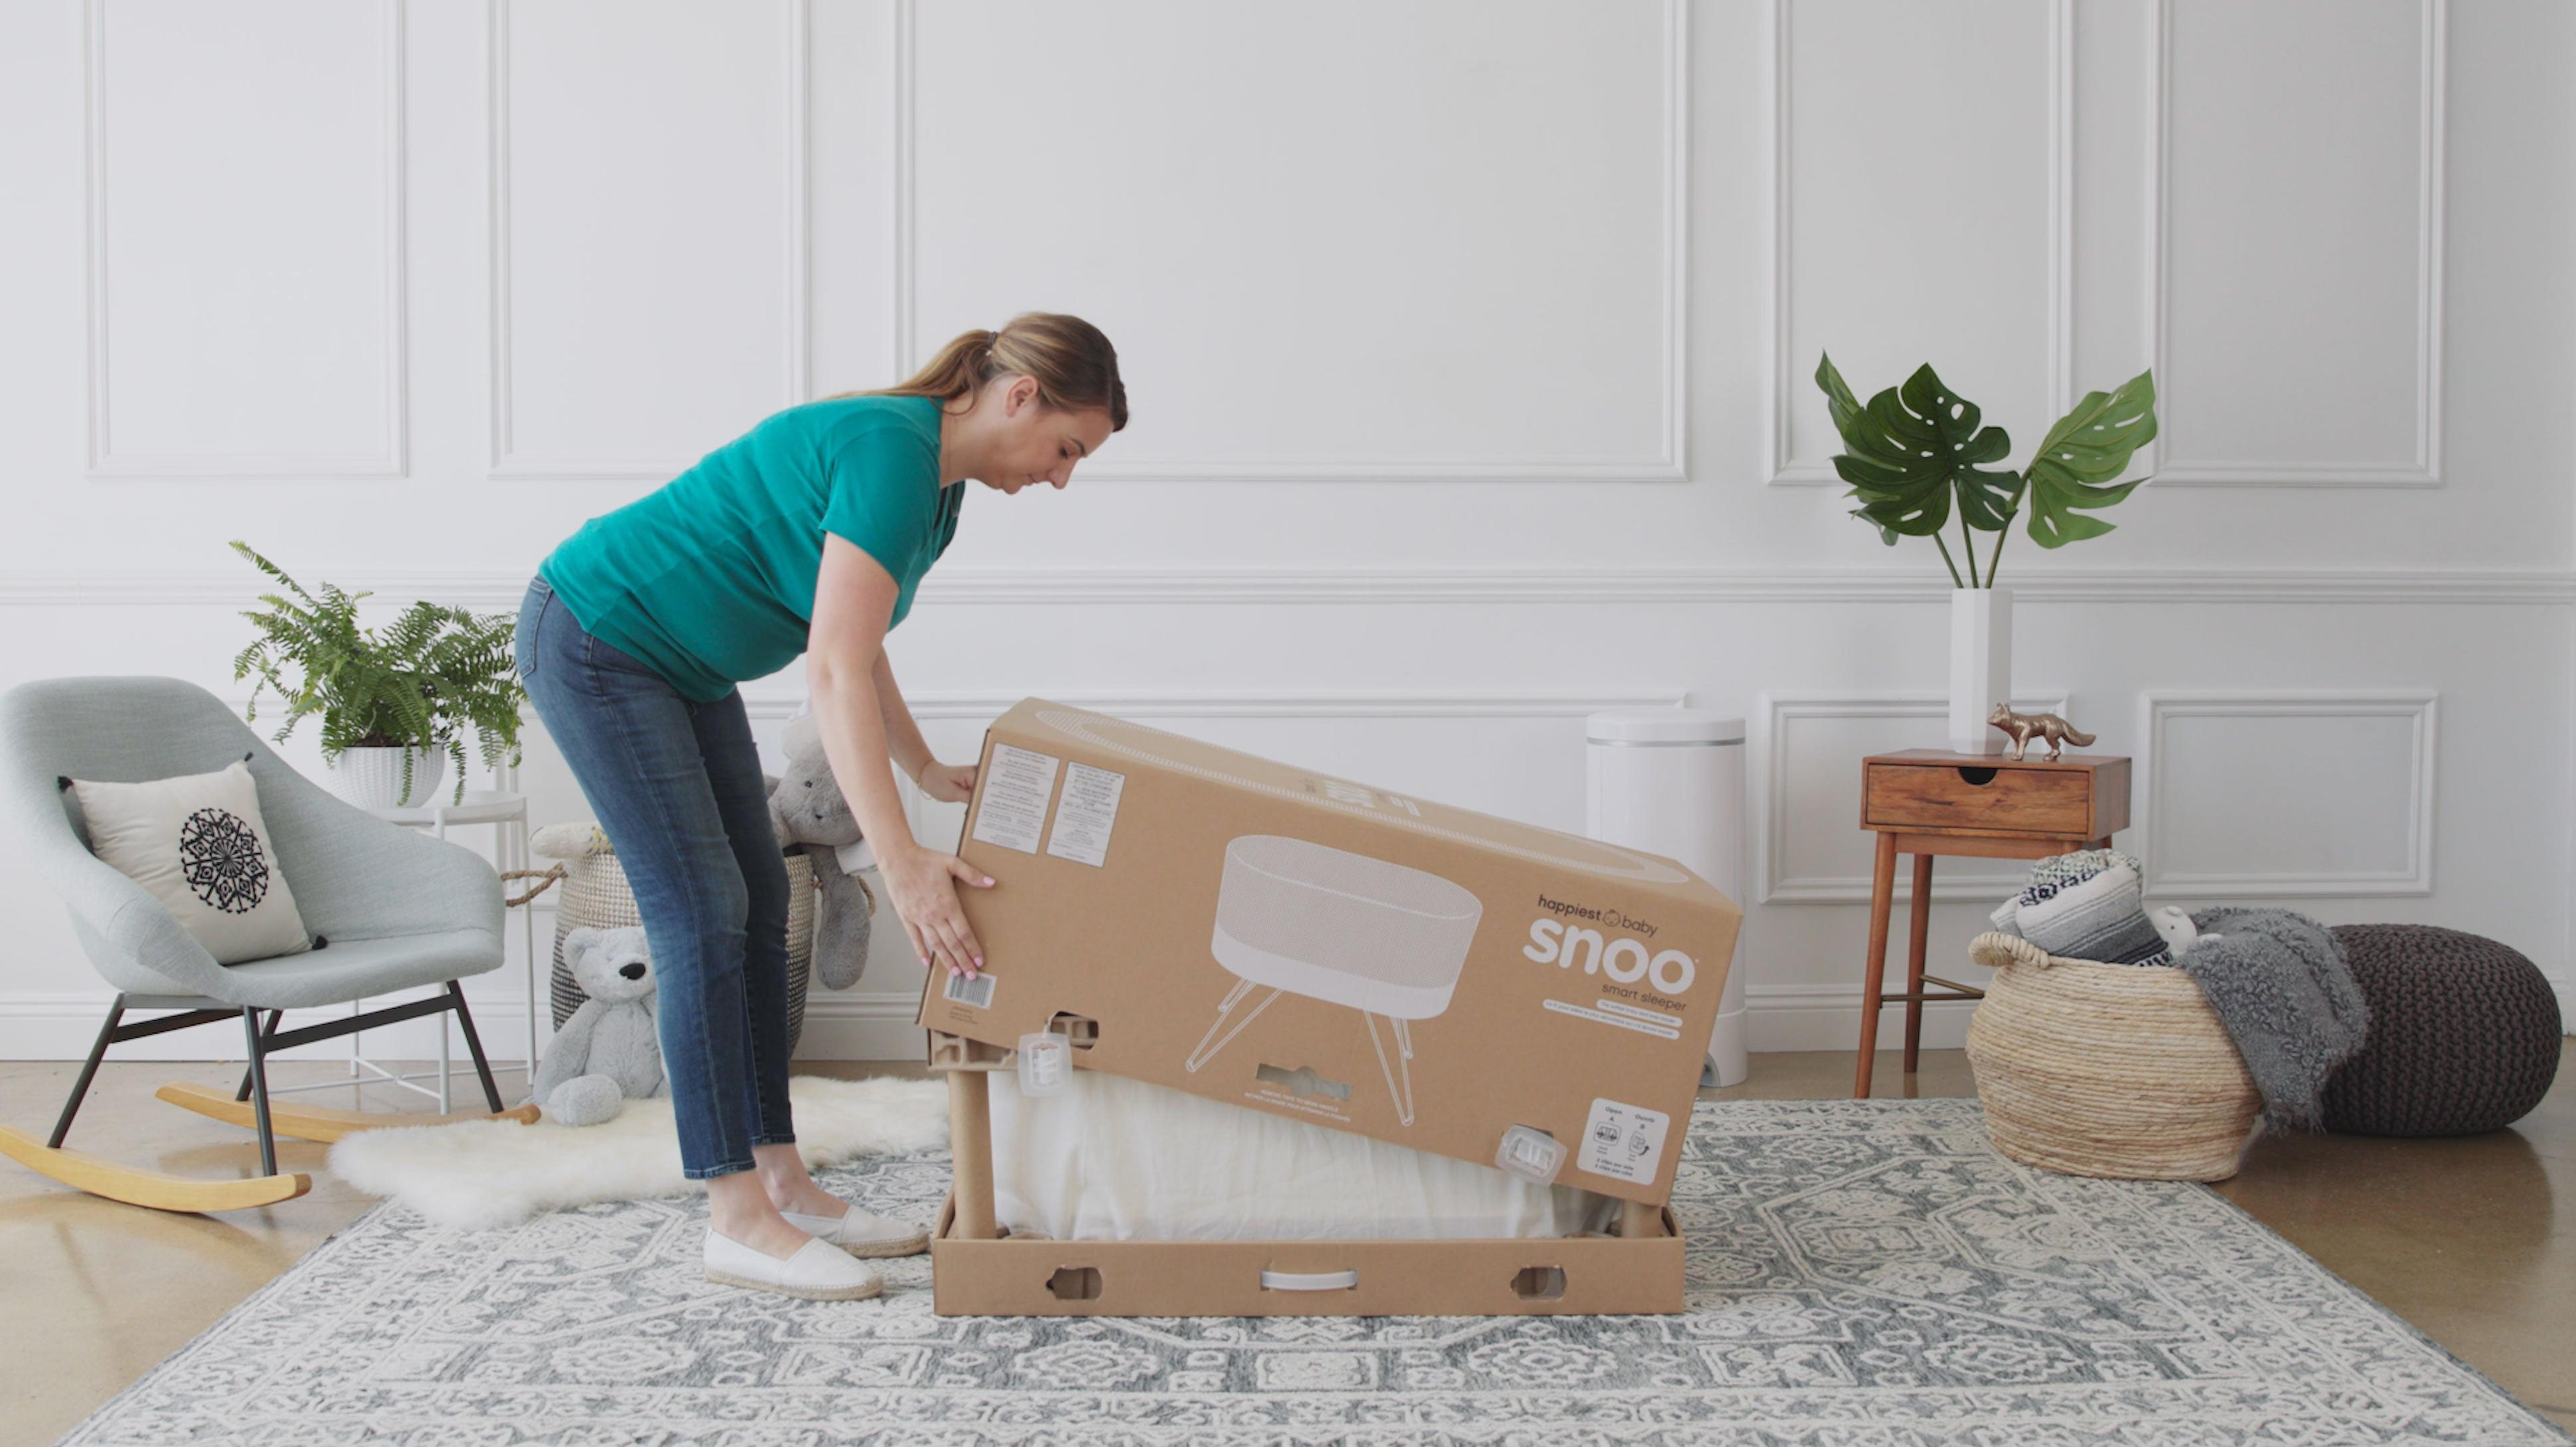
Step 1: Reassemble outer box. Reassemble the outer carton by unflattening the box and inserting the tabs.
Step 2: Unplug SNOO. First, unplug SNOO from the outlet. Then unplug the power cord and detach the cord from the leg holder.
Step 3: Place the dust bag on floor. Note: Some SNOOs come with a plastic dust bag.
Step 4: Remove SNOO Mattress. It’s yours to keep—the SNOO Sacks are yours to keep as well! Please do not include them in the box.
Step 5: Gently flip SNOO onto bag.
Step 6: Remove SNOO legs from SNOO. Unscrew and unclip legs.
Step 7: Flip SNOO back over.
Step 8: Place SNOO into dust bag. Begin to pull the dust bag up over SNOO. Pull the drawstring closed and tie a simple knot. Note: Some SNOOs come with a plastic dust bag.
Step 9: Slide SNOO into tray. Slide the SNOO onto the carton carefully (you may want to ask for assistance during this step to prevent damage).
Step 10: Put legs in the leg boxes. Notice if the leg has a red or blue arrow and insert legs following the color labeled.
Step 11: Place walls back into the base.
Step 12: Carefully secure upper tray on top of SNOO.
Step 13: Insert power supply into accessory box. Put the power supply cord back into the power supply box. Then put the power supply box into place.
Step 14: Fit box over SNOO.
Step 15: Secure box. Insert and snap in all 4 clips. Important: You should not see a gap between the outer box and tray.
Step 16: Tape all 4 sides. SNOO is ready to be shipped back!
Disclaimer: The information on our site is NOT medical advice for any specific person or condition. It is only meant as general information. If you have any medical questions and concerns about your child or yourself, please contact your health provider.


SHARE THIS ARTICLE